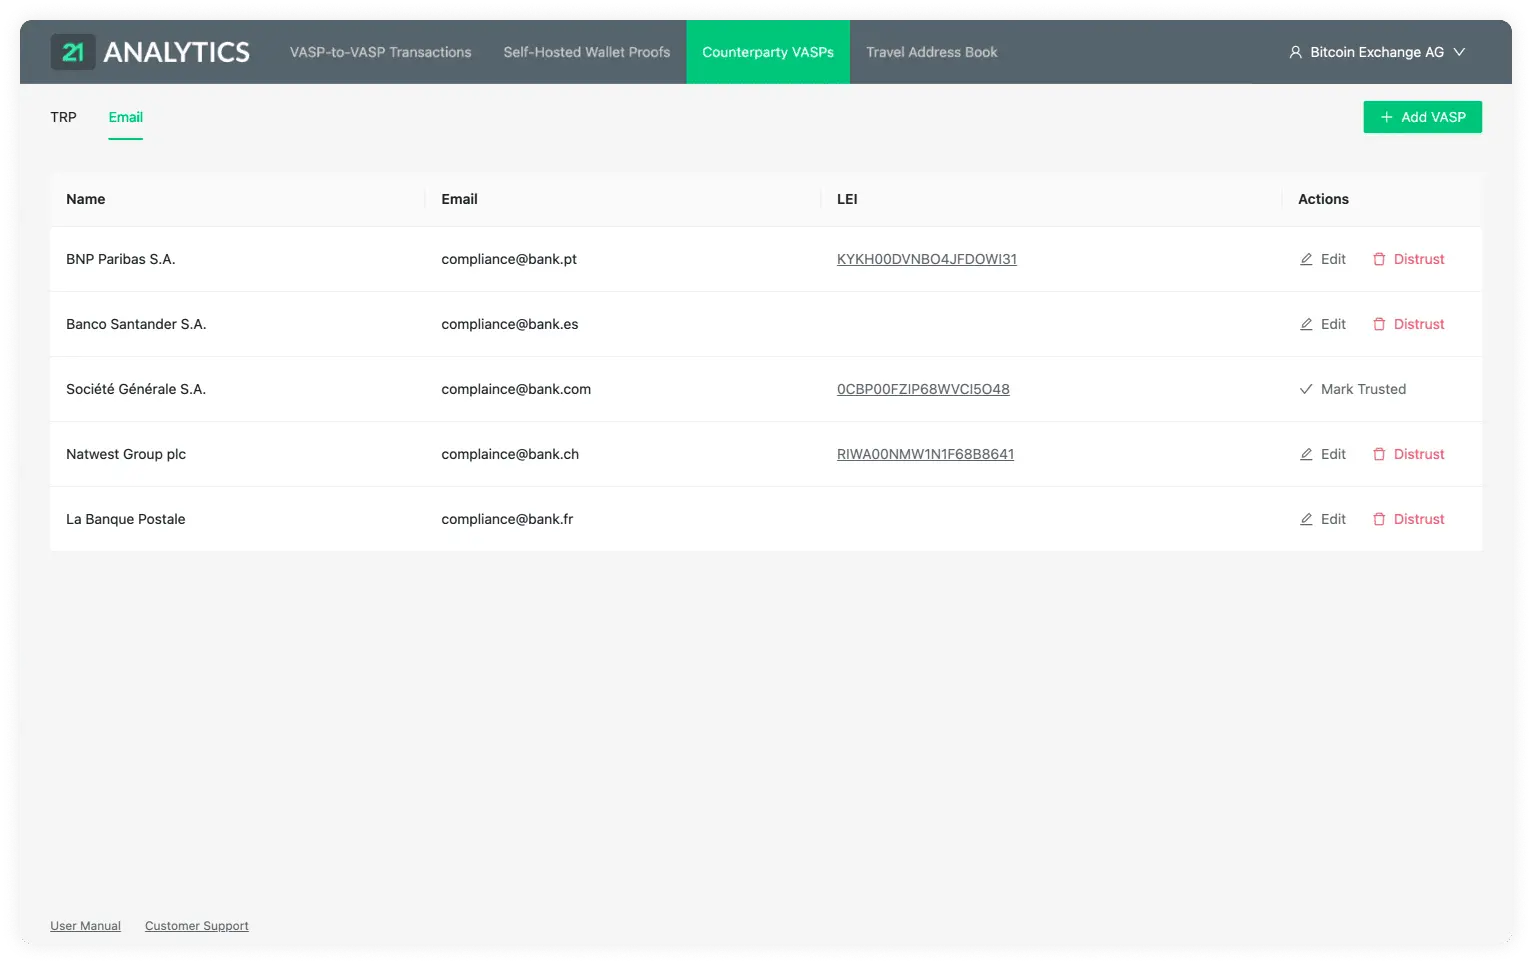
On the "Email" tab, you will find a table with a list of VASPs your team added choosing the Email protocol.
Click a row to open the counterparty's detail view. Click the History icon in
the title bar to view its events or export its event history. See
Event History.
This table supports customised filtering and sorting. See the filtering and sorting pages for more information.
This table contains the data introduced by you or someone with access to the account. To add additional VASPs you should use the Add VASP button stated previously and choose the Email tab. This table has the following columns:
Table Columns Overview
Name
List of the chosen VASP names.
Email Address
The email associated with the VASP name. This must be correct to establish communication between the counterparty VASP.
Actions
For currently trusted VASPs, there are two actions available under the Email tab:
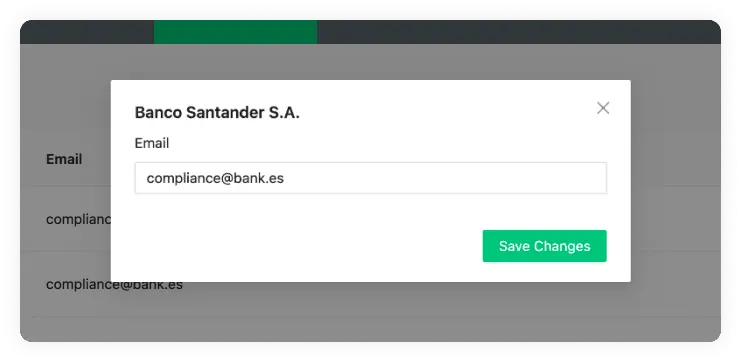
Edit
In the row's Actions column, click Edit to change the VASP's email address.
Distrust
In the row's Actions column, click Distrust to block further email
communication with the counterparty VASP. Its status then changes to Revoked.
Mark Untrusted VASP as Trusted
For an untrusted VASP, click Mark Trusted in the Actions column to allow
communication with it again.